Quick Start Guide #
Follow below step to setup your first store. #
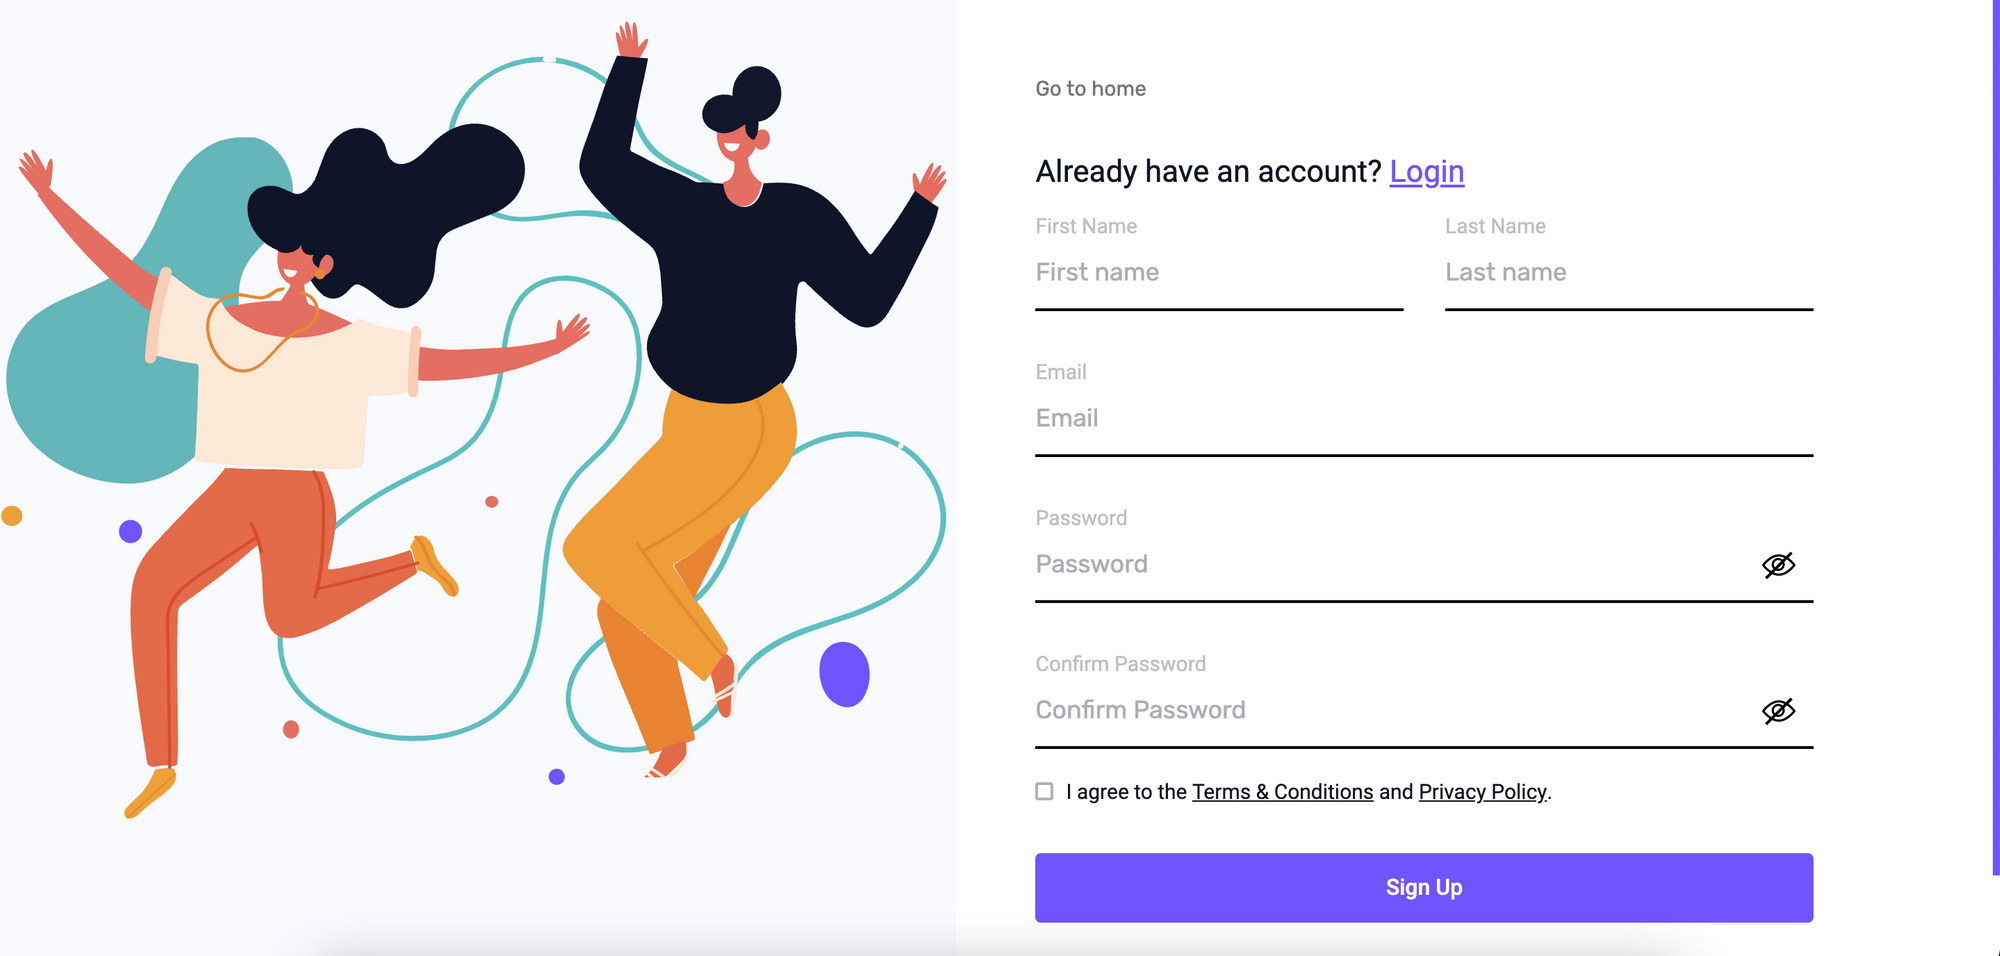
- Step 1: Register with your email address. A verification email will be sent.

- Step 2: Verify your account by going to the link provided by email.
- Step 3: Login with your email and password.
- Step 4: Choose a subscription based on your requirement. You don’t have to pay for paid subscription immediately as there is 1 month free trial available.
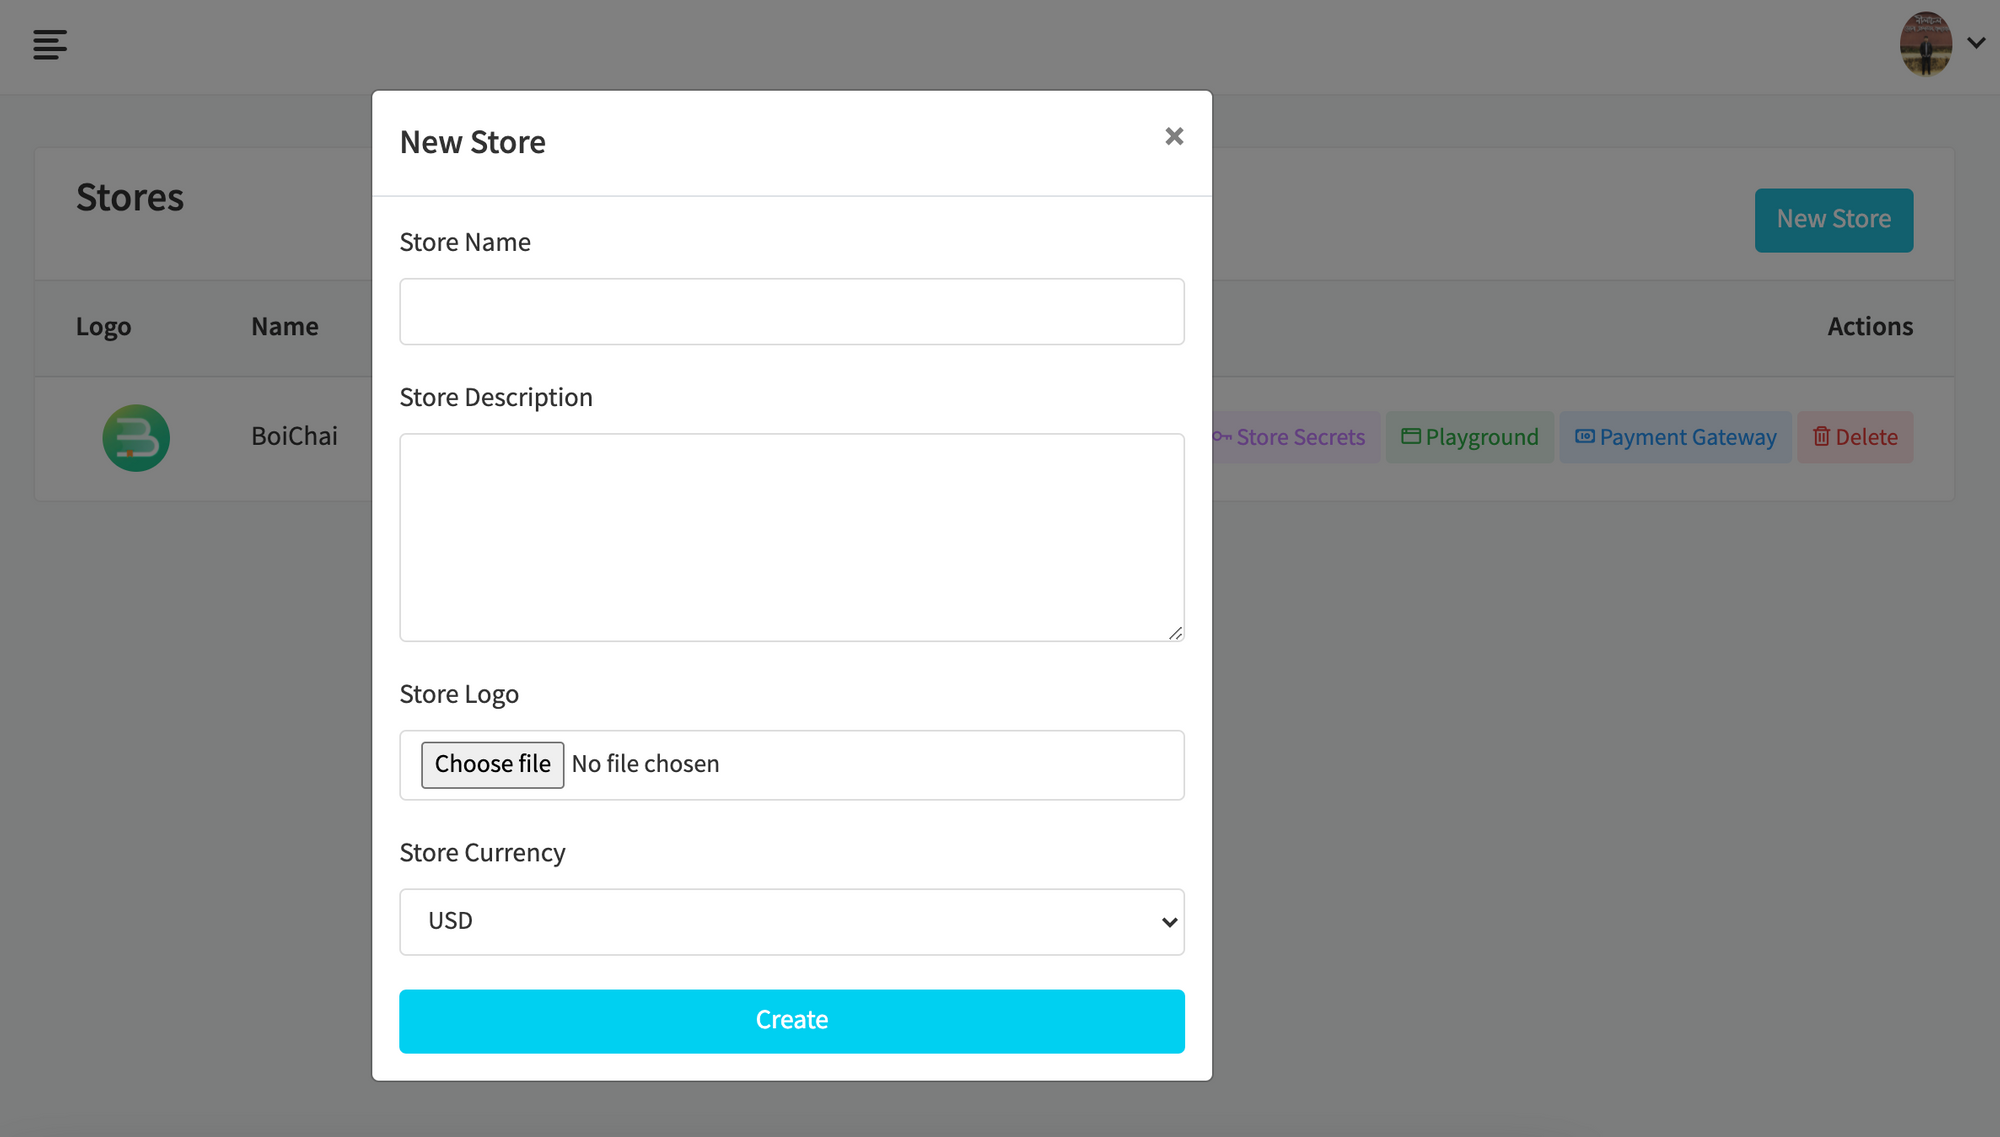
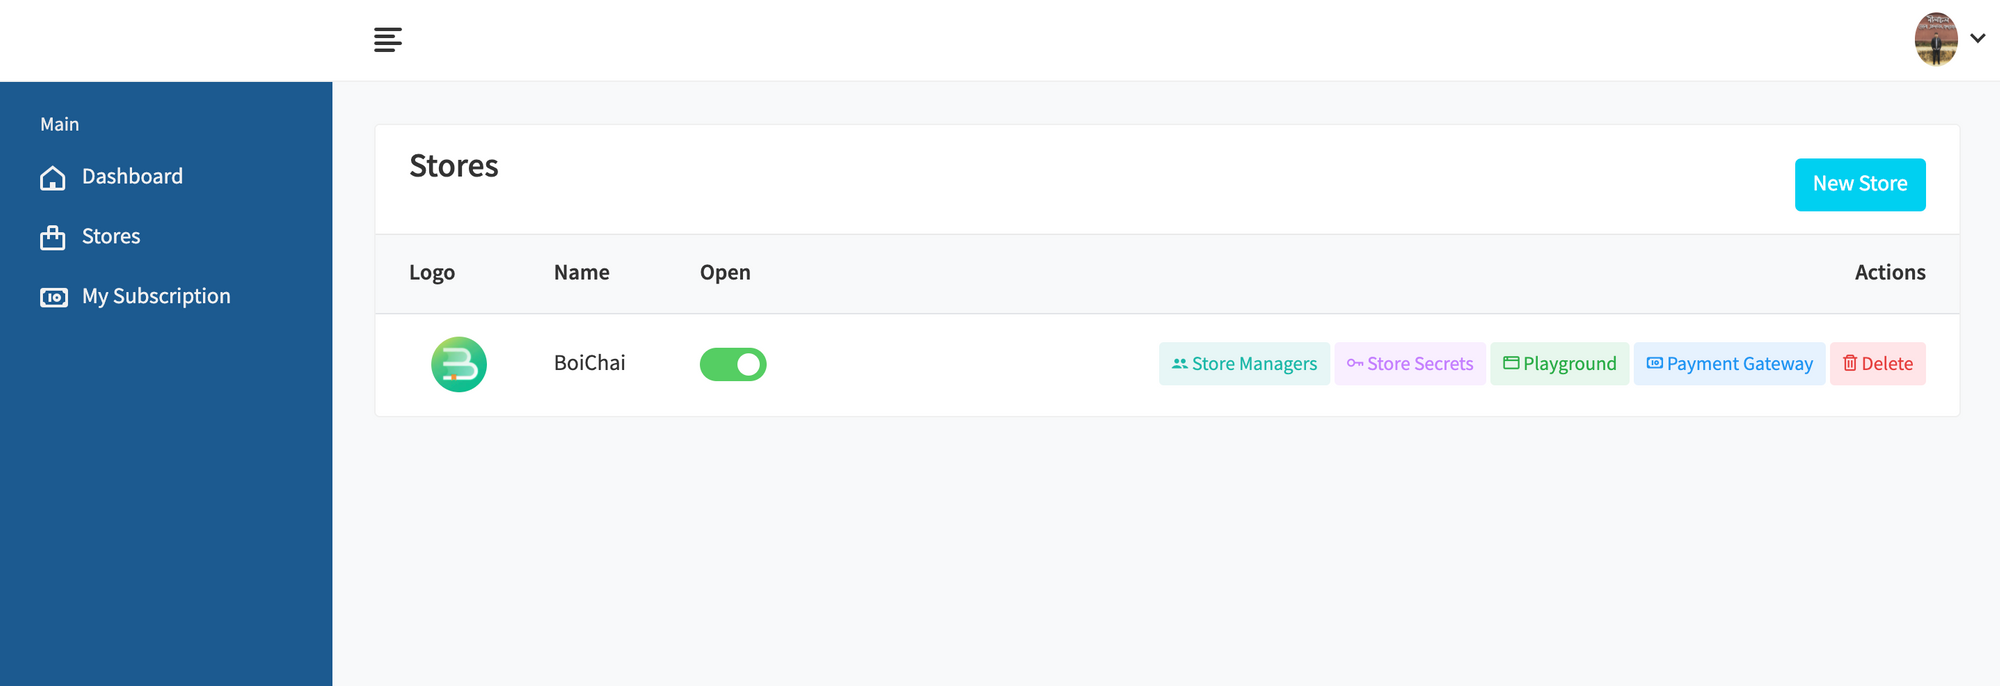
- Step 5: If all the above steps went well, you will be on the dashboard. Now create your very first store.

Your store has been created. The number of stores you can create depends on your subscription.

- Step 6: Now go to Store Secrets to generate credentials for your store.

There are two types of credentials. Admin credentials have access to your entire store, you must not share this type
of
credentials with anyone else. App credentials only can read your public content, use it to implement your store
frontend.
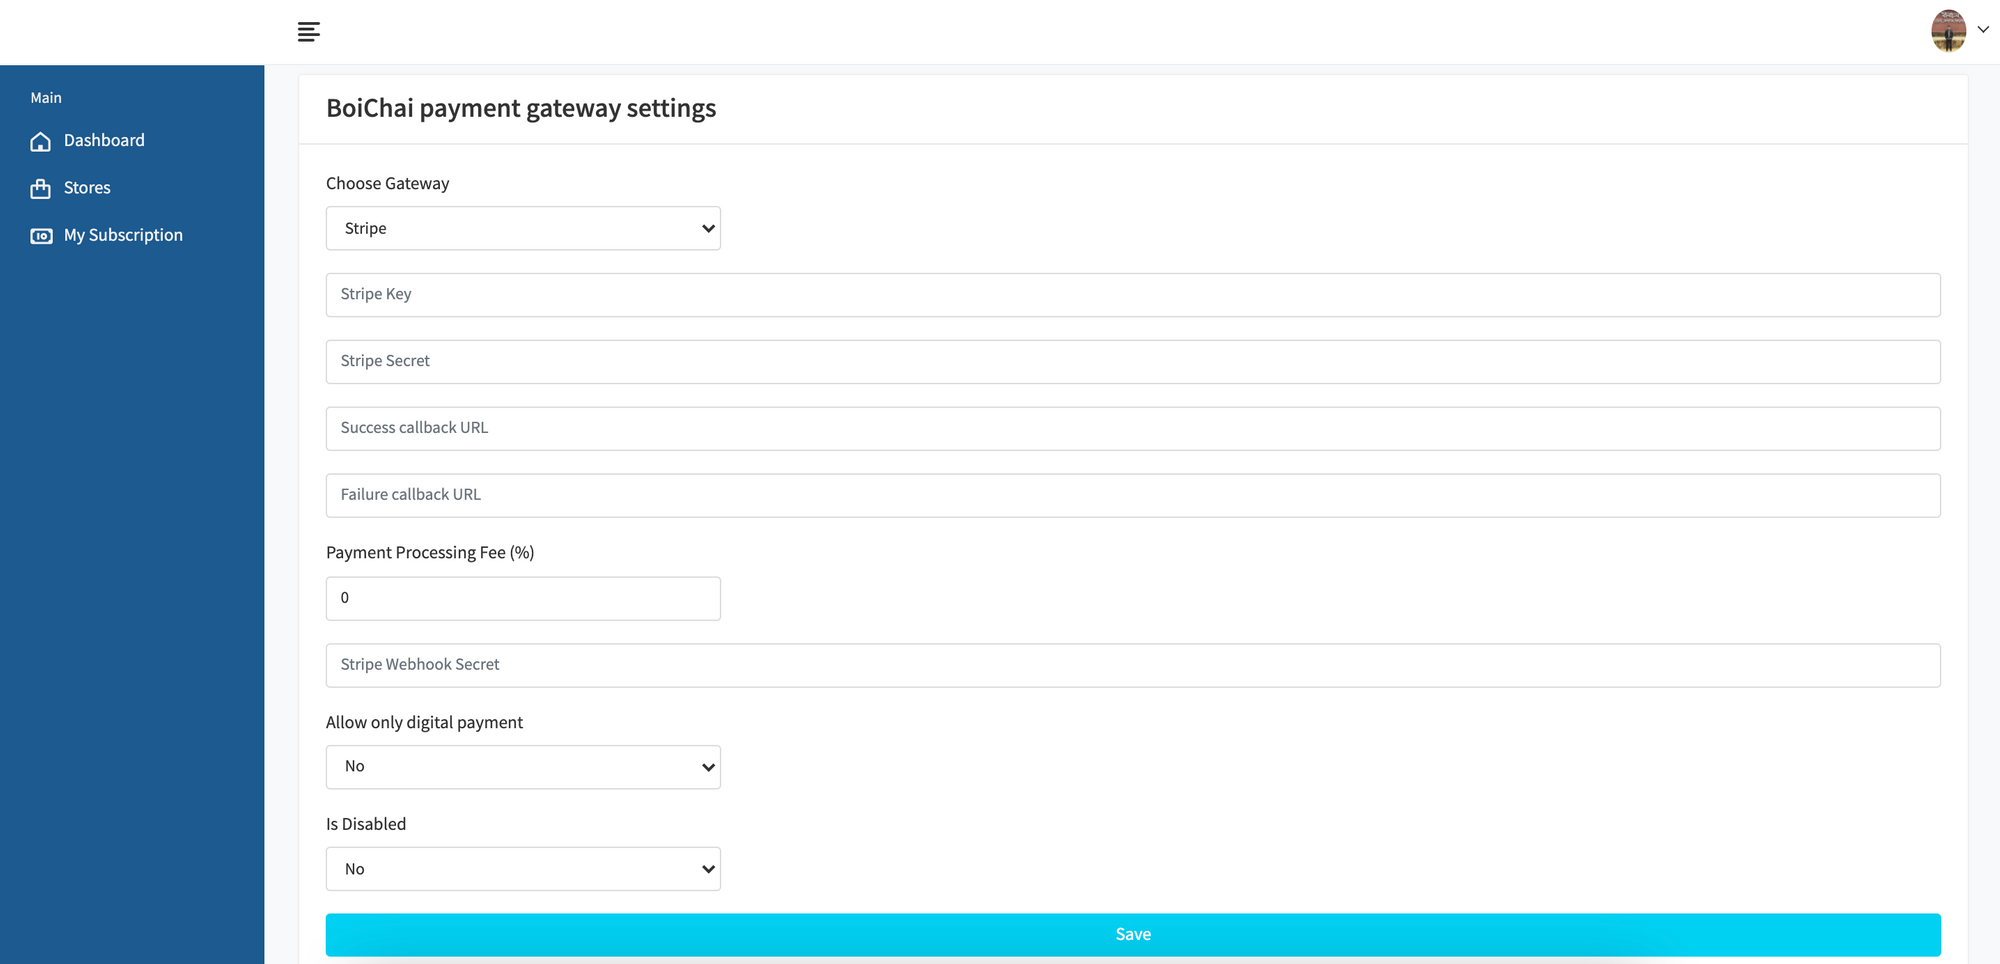
- Step 7: Then goto payment gateway, to setup your payment gateway. There are two payment gateways available currently Stripe and SSLCommerz. Success callback URL and Failure callback URL is the URLs where the user will be redirected after payment.

Note: You can use your store without payment gateway but in that case customers won’t be able to pay online. You have to collect the payments manually.
- Step 8: Goto
Dashboardto manager your store (such as adding products, updating store info, etc). - Step 9: Goto
Storefrontsmenu to create a storefront (website) for your store. You will get a unique subdomain onshopemaa.shopthat can be shared with your customers.
You are done. You can check Documentation to implement your store’s custom frontend. You can also experience the functionalities in Playground.